Embedded Systems / Interactive Prototype
Arduino Reaction Wheel
Overview
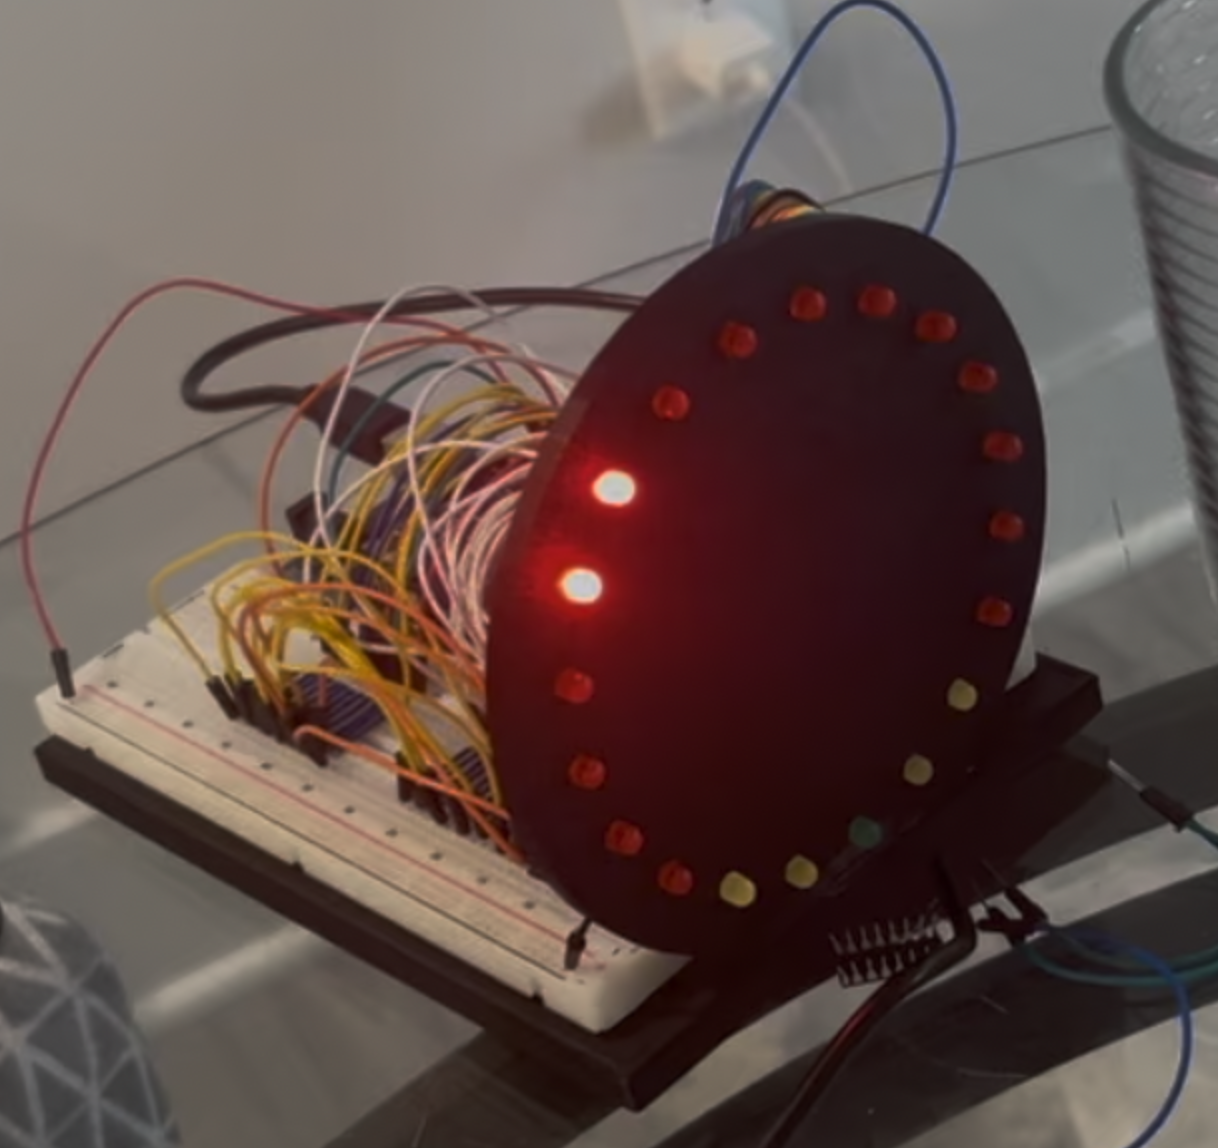
Designed and built an Arduino-based reaction game that combines 3D printing, electronics, and embedded programming. Twelve individually controlled LEDs simulate a spinning light, while a push button lets the player stop the sequence on a target LED across three progressively faster difficulty levels.
Concept
A sequence of 12 LEDs creates the effect of a light spinning around a custom 3D-printed display, and the player presses a button to stop the light on a target green LED. The game includes three progressively faster difficulty levels, along with custom win, level-up, and victory animations.
My Role
I prototyped the circuit on a breadboard, wired and programmed each LED individually, and developed the Arduino logic for button inputs, game progression, timing, and multiple LED animation modes. I also designed the physical housing to integrate the electronics into a compact, interactive prototype.
Design Process
- Designed the physical display and housing
- Fabricated the housing using 3D printing
- Prototyped the circuit on a breadboard
- Wired and controlled 12 LEDs individually
Electronics
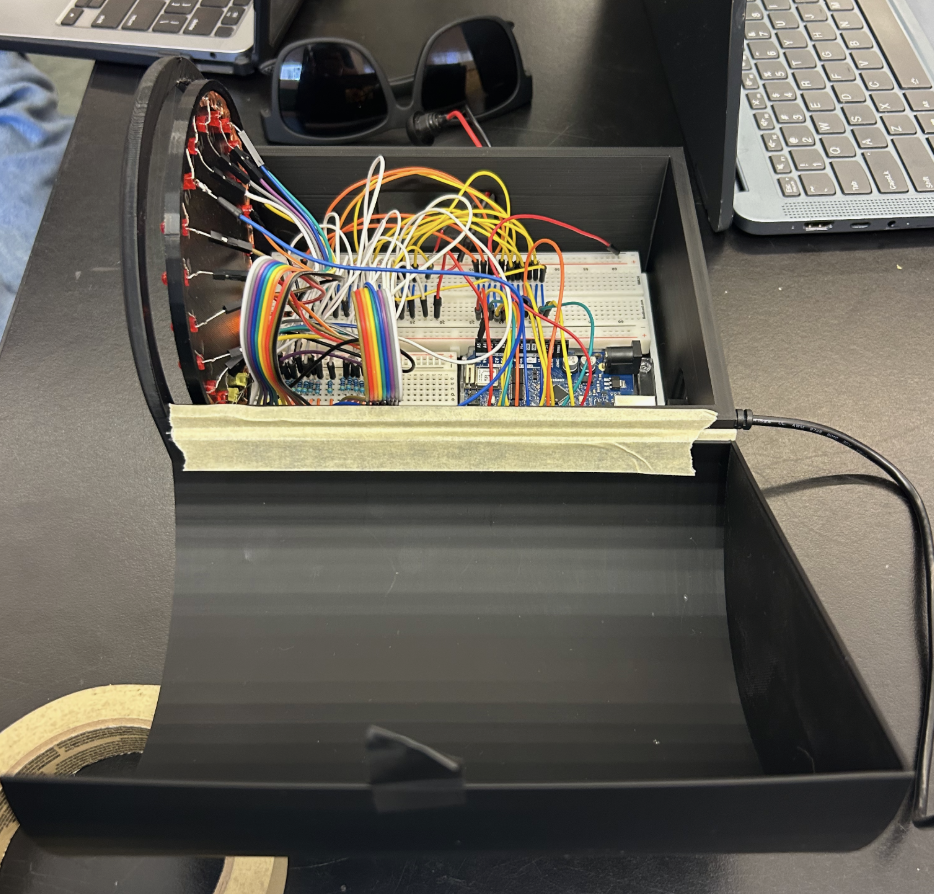
Interior view of the reaction wheel showing the breadboard, Arduino, wiring, LED connections, and 3D-printed housing.
Prototype
Completed reaction wheel operating with the LED sequence illuminated on the 3D-printed circular display.
Testing
- Programmed button-input logic in Arduino
- Created three progressively faster difficulty levels
- Developed win, level-up, and victory LED animations
- Integrated the electronics into the final prototype
Results
[Add results — how well the difficulty levels played, any demos or reactions]
Challenges
[Add challenges — wiring 12 individual LEDs, timing logic, housing fit, etc.]
What I Learned
[Add takeaways from building this project]